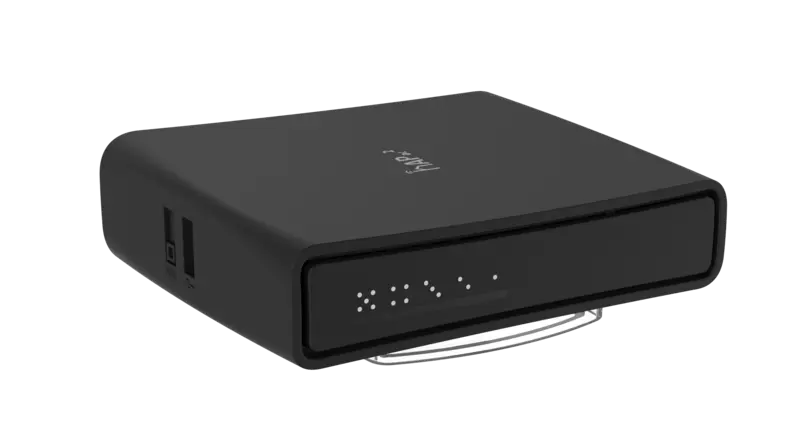
Project Home Cloud Part 2: MikroTik hAP ac² Factory Reset
Apr 2, 2021 - ⧖ 5 minIf you read my [previous post]({% link _posts/2021-03-28-project-home-cloud-part-1-the-plan.markdown %}), you'll know that I'm giving my home network a bit of an overhaul brought on by the installation of a new "full fibre" Internet connection. The plan is to set things up so I can separate the machines I have hosting web-facing services from the rest of my LAN. I'm mostly doing this for security reasons but it should also give me a bit more freedom to tinker with (and break...) my "lab" network without upsetting my wife and kids.
As I mentioned at the end of my last post I've purchased a MikroTik hAP ac². This tiny little box is everything I could possibly need in a router and as a bonus it has pretty decent dual band 802.11ac Wi-Fi, so I don't need to buy an additional access point.
What I didn't mention in the last post is that I bought my MikroTik used from eBay, even though they're only about £60 new; I never like to pay full price for something, even if the full price is extremely reasonable. Unfortunately this is one of those times where I wish I had just bought a brand new unit and not been such a cheapskate. The hardware itself is perfectly fine, but it came with a password already set. I thought this wouldn't be a big deal, but factory resetting it proved to be a little harder than I'd bargained for.
After discovering the existing password, I went looking for documentation on how to factory reset the unit. I found the MikroTik wiki page for the hAP ac². I tried to follow the (pretty unclear) instructions in the "Buttons and jumpers" section to reset the configuration. My interpretation of this was to hold down the downright painful reset button, then plug in the unit and only release the button when the green light started flashing. Unfortunately after trying this a few times, all I achieved was to go from being unable to log into the "Webfig" web interface to having it completely unavailable, with only SSH still being accessible (but still a password I didn't know).
Lots of wasted time and a lot of Googling later I discovered there was another more drastic way to reset MikroTik devices; a Netinstall. This process involves running the "Netinstall" software on another machine and having the device boot up over the network from your machine to perform a fresh install of the firmware. There is a Linux version of the software but it seems to be quite new and poorly documented, so after failing with this a couple of times I borrowed my wife's Windows 10 laptop.
The proper documentation is available here but the process took me quite a while to get right, so I'll outline the steps I took here anyway:
- Download the Netinstall software and latest firmware the device
- Set up the NIC on the laptop with a static IP of 192.168.88.2 (as in the docs)
- Fire up the Netinstall software, telling Windows to give it network access on Private and Public networks when prompted
- Click on "Net booting" and enable the boot server with client IP set to 192.168.88.3 (also in the docs)
- Now here's the bit which nearly drove me mad. I presumed the device would want to network boot on one of the "LAN" ports (numbers 2 and up) so all my initial attempts were with the cable plugged into port 2. Nowhere in the docs does it mention which port to use. It turns out it will only network boot on the first port, which is the one usually used for your Internet connection.
- The next part is a bit fiddly too. You have to hold down the reset button, plug in the power and then keep holding until after the green light stops flashing and it hopefully shows up in the Netinstall software. The button needs to be held down very firmly to remain "clicked" in place and in the end I only managed this using a pencil rather than my fingers. I also disabled the Windows Firewall at some point during my previous failed attempts, so if you have problems maybe try this.
- If you've got the router to show up in the Netinstall software, congratulations the hard part is over! Browse to the downloaded firmware file for your device, check the "Apply default config" checkbox, click "Install" and wait while the software flashes your device to the latest firmware and default configuration.
- When it has completely finished you can unplug the power, change your machine's network configuration back to normal, plug into port 2 again, power up the device and see the normal (password free) web interface at 192.168.88.1.
This whole journey of discovery took me two or three hours. However it hasn't completely put me off the router. I'm absolutely blown away by the sheer number of options this thing gives me and my next post will outline the process of getting it set up to replicate the functionality of my (actually really good but locked down) ISP provided BT Smart Hub; IPv6 and all.
