History
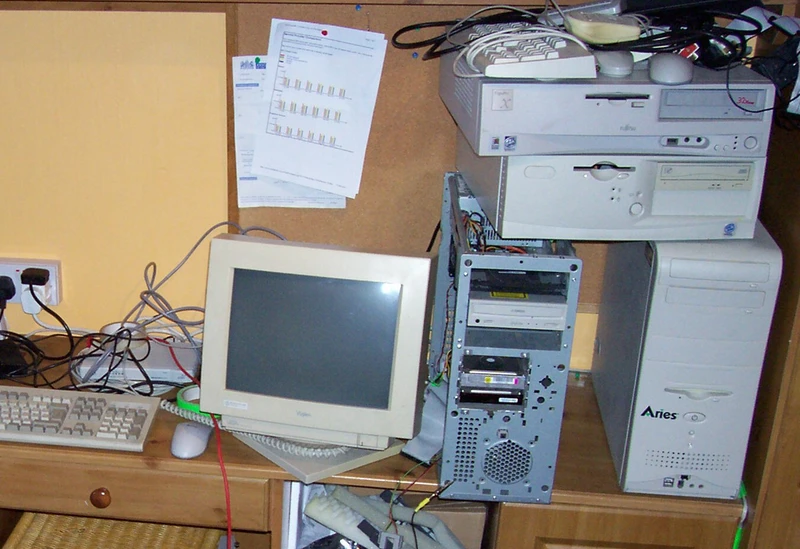
For as long as I can remember, I’ve loved tinkering with hardware; this often manifests in the form of installing Linux on computers which really should have been consigned to the bin a long time ago. In my teenage years I had a Pentium III machine with no case sat on a bookshelf running a Counter Strike: Source server, a Pentium 2 running pfSense or something serving as a firewall (to separate my bedroom network from the rest of the house…obviously) and some old machine with a bunch of drives in USB 2.0 enclosures running as a Linux software RAID 5 doing BitTorrent seed box/file server duties. Bear in mind that this was in the mid 2000s…so this hardware was extremely dated even then.
Fast forward to 2021 and I’m ten years into a career in tech, with a wife, two kids and a mortgage. The things I enjoy tinkering with in my (very limited) spare time haven’t changed that much, but it’s been a few years since I’ve had anything worth calling a homelab. It’s been 3 years since I had a job involving any physical hardware, and that desire to make use of old crusty machines to build some cool infrastructure at home has come back with a vengeance.
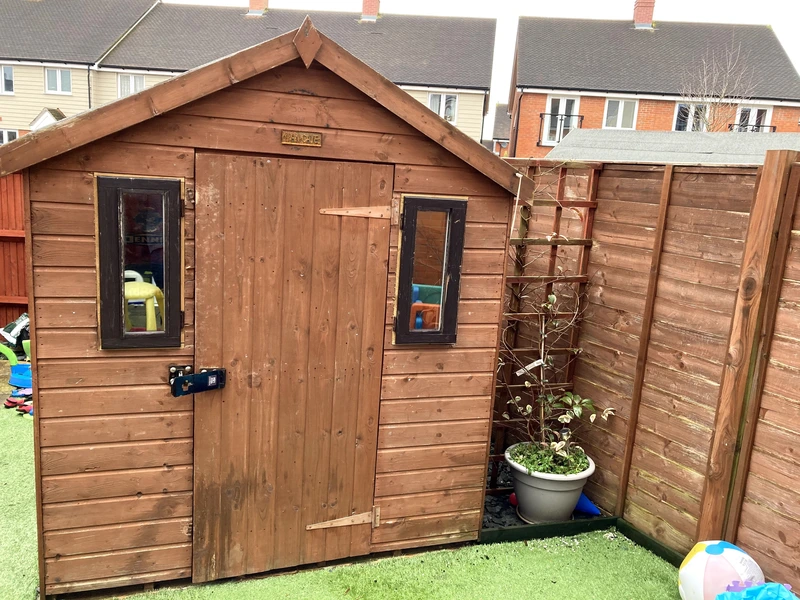
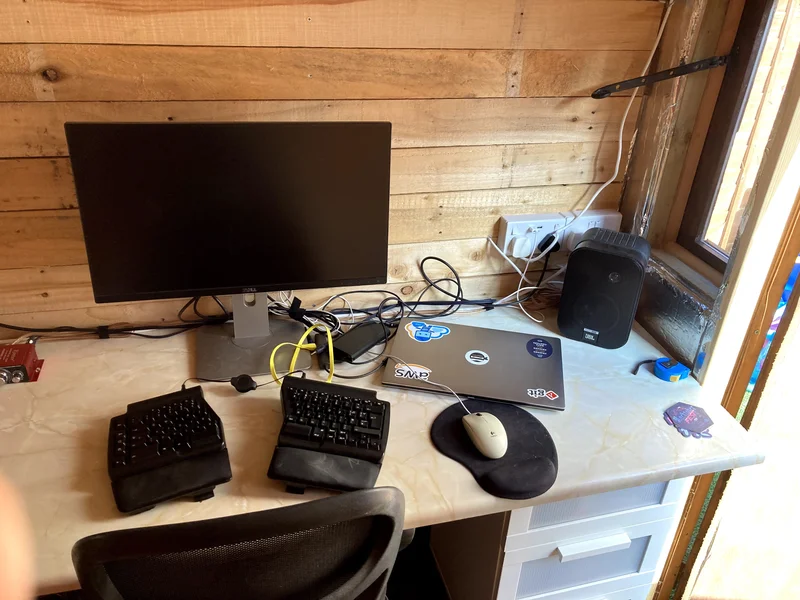
Last summer, having worked at home at the kitchen dining table in a relatively small house, with two very bored (and loud!) children for a few months, I was desperate to build a better set-up. We weren’t in a position to move house and there was no space I could turn into a proper office, so I looked to the (~6 metre long) garden for a solution. Given the space constraints it wasn’t possible to build anything bigger than the standard issue 2.4m garden shed, so with the help of my Dad, I insulated it, boarded it with recycled pallet wood and stuck in a couple of windows and a desk. Instant tiny office!
What I have now
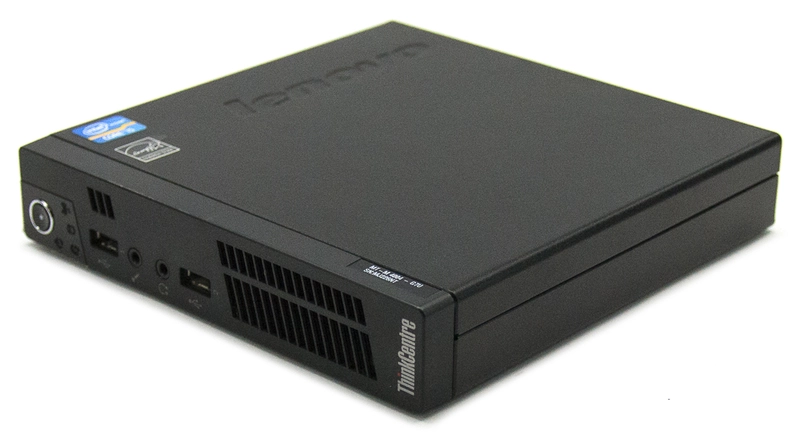
Anyway, since having a bit of space to myself again, I couldn’t help digging out some of my old hardware and having a tinker. This started off with running a k3s cluster made up of a Raspberry Pi 4 and an old Core i3 laptop. However I’ve also got an old HP Proliant ML110 G6 with a few drives in it waiting to go into service as ZFS based storage server and I also recently bought a Lenovo M72e “Tiny” with a Core i5 and upgraded it to have 16GB RAM and an SSD.
The first hurdle with all of this was the poor networking at the bottom of the garden; the shed was now insulated with foil backed insulation and the only connectivity was via a cheap Netgear Wi-Fi bridge. Gigabit Ethernet was a must, so I ran a cable (with lots of skinned knuckles and swearing) through the wall of the house and down the garden. For the moment this was fine, because our Internet was FTTC VDSL and I could run the router off the phone extension socket in the kitchen at the back of the house. However at some point in the next few weeks we’re getting FTTP (Fibre To The Premises) installed which will come in at the front of the house.
Needless to say my wife wasn’t keen on permanently running a Cat6 cable through the middle of the kitchen so I needed a better plan. Luckily when the house was built, the builders used daisy-chained Cat5e (I think…) to put phone sockets in a number of rooms; so all I needed to do was figure out which rooms connect together and splice the cable. With a bit of bodgery and having re-learned how to crimp RJ45 jacks this has now been a success, so I’m ready to start working on installing OSes.
Operation gigabit to the shed is finally a success! Don’t judge me!
— Sam Weston (@cablespaghetti) March 27, 2021
I need to get some proper RJ45 sockets rather than the coupler but for now it seems to be functional! pic.twitter.com/lloh8Q7lCl
Routers
Now I’ve got decent connectivity to my mediocre k3s cluster in the shed office, I’m in a position to start thinking of a practical purpose (or exuse) for all this infrastructure. I’ve been paying AWS a few dollars a month to host a some Wordpress sites for friends and family, so the most obvious use is to move those in-house (well…in-shed). However Wordpress being what it is, I don’t really want a hacker to find themselves on my home network if they compromised one of these sites. This means it’s unfortunately time to say goodbye to my (surprisingly good) ISP provided Wi-Fi router and start looking at more capable alternatives, which will allow me to have a separate DMZ (demilitarised zone) for my web-facing infrastructure.
Based on previous experiences I started looking at hardware on which I could run PfSense or its fork OpnSense. However anything vaguely capable with the three NICs I need would either be well over £100 or be a big power hungry x86 machine. I then went down a rabbit hole looking alternatives like OpenWrt and various ARM boards including a few based on the Raspberry Pi 4 compute module. However I couldn’t find anything cheap enough which had three NICs without resorting to USB adapters.
This was when I happened upon a relatively obscure brand called MikroTik. They compete with the likes of FortiGate and Ubiquiti in the enterprise market, but then ship the same software on their consumer level hardware. The model I ended up deciding on is the hAP ac² which is a tiny little (roughly Raspberry Pi sized) router with dual band 802.11ac for around £50. It seems to have the performance to deal with the 150Mb line I’m getting installed and all the features under the sun! Think VLANs, VPN support (including Wireguard), multiple Wi-Fi SSIDs, BGP…just everything! As a bonus, the inbuilt Wi-Fi should be good enough to cover my whole house so I don’t have to worry about additional access points.
The Plan
The plan is to set up the MikroTik when my new Internet connection gets installed (I don’t have a separate VDSL modem to use it with my existing line), with a VLAN trunk for the two networks (DMZ and LAN) going down the single cable to my shed office. I’ll then need to get a managed switched for the shed to split that out for my laptop/internal stuff and the public-facing Kubernetes cluster.
I’m then looking at PXE network booting my k3s nodes and running them on Flatcar Linux for a more “cattle not pets” approach, with the HP Proliant ML110 server with lots of drives providing persistent storage on top of ZFS. I hope to set this all up using Ansible or similar so it’s reproducible and I can stick it all up on GitHub for others to copy.
Watch this space for more posts over the next few weeks as I hopefully make some progress!
